
Before/After- The Guest Bath
Ready to see the After pics of our guest bath? Just to make sure you remember where we came from (like we posted here) behold what we started with-
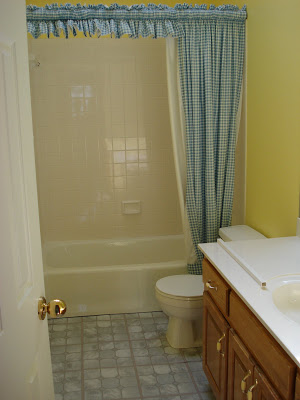
 When we moved in we fondly named it the "Wizard of Oz" bathroom. You know- Dorothy gingham paired with the yellow brick road. Mix that with the fact that we live in Kansas and it becomes such an "awesome" theme.
Add more honey oak, a huge builders mirror, brass, and blue peel and stick tile and this bathroom landed with every other room in the house on our makeover list. To complicate matters the floor also sloped...a lot. Not the kind of sloping that you need a level to see, but the type of slope that makes you say "holy crap is the house falling down" when you walk on it. The home inspector reassured us that nothing structural was wrong with the house, but we still needed to fix it as we remodeled this room.
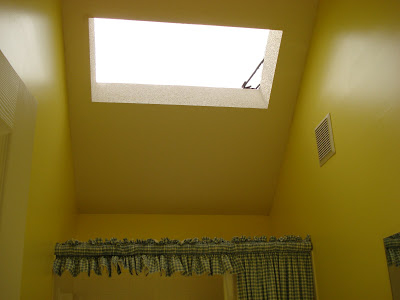
Oh yeah I almost forgot that it glowed-
During
We started by taking out the vanity, the glued on mirror, the vinyl floor and the toilet-
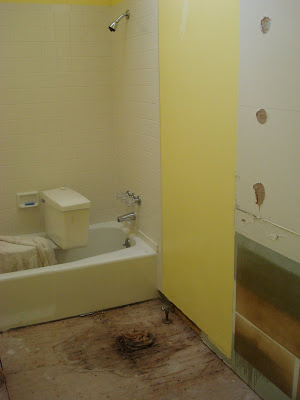
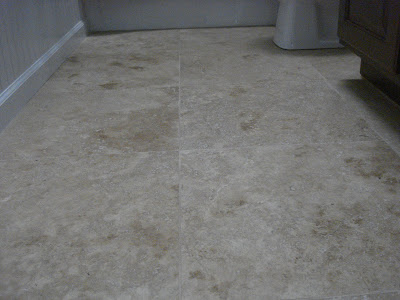
We fixed the subfloor and then laid a vapor barrier and metal bracing for the cement to level the floor-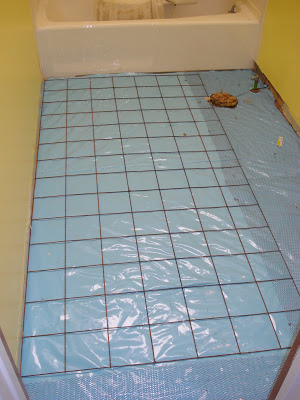
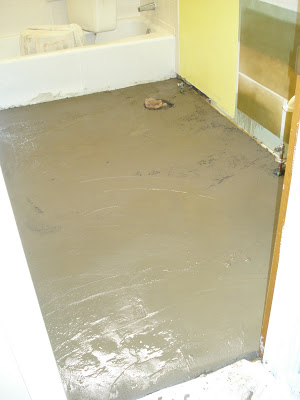
Then to level the floor we poured cement. The low side was about 2 inches below the other side....hence the slope-
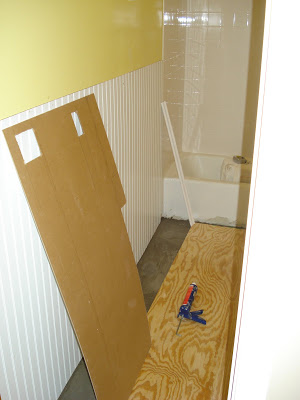
 Then the beadboard went up-
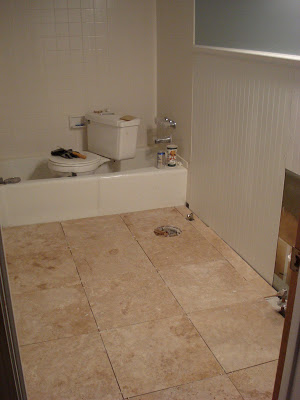
 We fixed all the walls, painted and then put down the tile on our newly leveled floor-
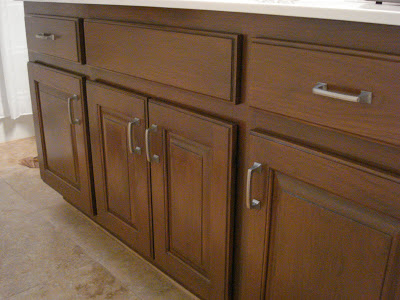
 I glazed the vanity in other room during this process as detailed here-
And now drumroll......The After.....
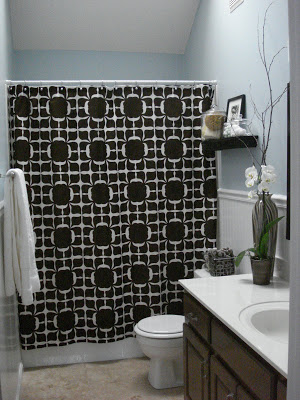
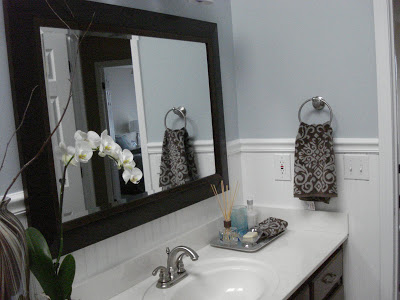
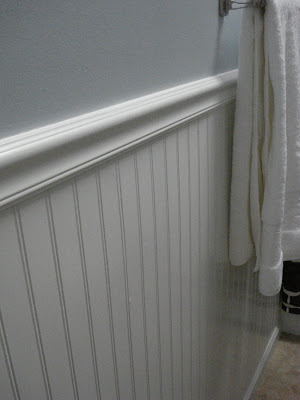


So what do you think? This bathroom will eventually will be our future kids so we wanted it to be easily converted to a kids bathroom. But at the same time be elegant and functional for our current guests. So we decided on a light blue (the paint color is Sherwin William's Sleepy Blue). Of course we used my favorite paint (detailed here) on all the new beadboard.
The shower curtain was one of the most difficult design decisions. We started with solid white and it blended too much with the wainscoting. But I did not want solid brown because it would match the cabinet. But all the patterns with blue did not match the blue on the walls at all. After going to numerous stores (it is actually is embarrassing how much time we spent on this decision) we found this one which I like because it is a little more modern.
Anyway let's get to the nitty gritty of the budget. Our goal was to spend less than $700.
Things that were free:
Shower hooks/liner- from previous house
Toilet Paper Holder and Hand Towel Ring-free with faucet
Faucet-Bought for old house and not used
Vanity hardware-left over from kitchen remodel
Vanity Glaze-supplies left over from kitchen remodel
Towels-used at old house
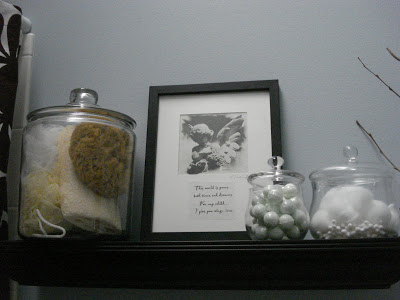
Accessories on shelf and toilet-from previous house
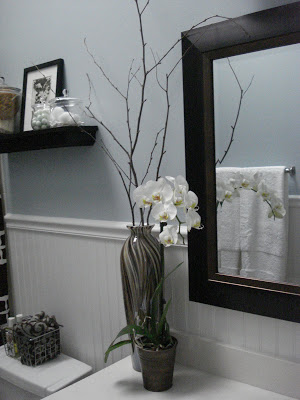
Sticks in vase-harvested from yard
White Paint-left over from other trim
Things that were not-so-free:
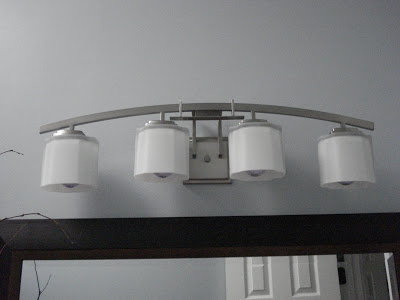
Light Fixture-$69.99 (Home Depot)
Mirror- $49.99 (Homegoods)
Paint- $35 (Sherwin Williams)
Beadboard/Cement/Thinset/Grout/other hardware- $200
Tile - $200 (closeout at tile and stone warehouse)
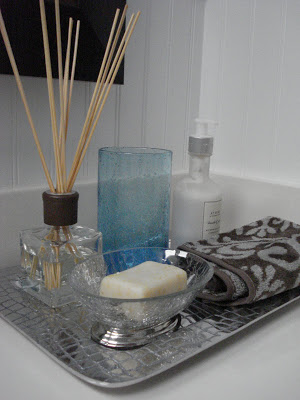
Silver Tray- $19.99 (Homegoods)
Silver Tray Accessories- $8 (Homegoods)
Shower Curtain- $26.99 (Target)
Towel Bar- $7.99 (Homegoods)
Brown Shelf-$6.99 (Homegoods)
Vase- $14.99 (Homegoods)
Orchid- $14.99 (Home Depot-yes it's real which is possible because of the skylight)
Grand Total: $654.92 Not bad for a complete bathroom overhaul including a sloping floor if I do say so myself. I hope our guests love it as much as we do!
When we moved in we fondly named it the "Wizard of Oz" bathroom. You know- Dorothy gingham paired with the yellow brick road. Mix that with the fact that we live in Kansas and it becomes such an "awesome" theme. Add more honey oak, a huge builders mirror, brass, and blue peel and stick tile and this bathroom landed with every other room in the house on our makeover list. To complicate matters the floor also sloped...a lot. Not the kind of sloping that you need a level to see, but the type of slope that makes you say "holy crap is the house falling down" when you walk on it. The home inspector reassured us that nothing structural was wrong with the house, but we still needed to fix it as we remodeled this room.
Oh yeah I almost forgot that it glowed-
During
We started by taking out the vanity, the glued on mirror, the vinyl floor and the toilet-
We fixed the subfloor and then laid a vapor barrier and metal bracing for the cement to level the floor-
Then to level the floor we poured cement. The low side was about 2 inches below the other side....hence the slope-
Then the beadboard went up- We fixed all the walls, painted and then put down the tile on our newly leveled floor- I glazed the vanity in other room during this process as detailed here- And now drumroll......The After.....
So what do you think? This bathroom will eventually will be our future kids so we wanted it to be easily converted to a kids bathroom. But at the same time be elegant and functional for our current guests. So we decided on a light blue (the paint color is Sherwin William's Sleepy Blue). Of course we used my favorite paint (detailed here) on all the new beadboard.
The shower curtain was one of the most difficult design decisions. We started with solid white and it blended too much with the wainscoting. But I did not want solid brown because it would match the cabinet. But all the patterns with blue did not match the blue on the walls at all. After going to numerous stores (it is actually is embarrassing how much time we spent on this decision) we found this one which I like because it is a little more modern.
Anyway let's get to the nitty gritty of the budget. Our goal was to spend less than $700.
Things that were free:
Shower hooks/liner- from previous house
Toilet Paper Holder and Hand Towel Ring-free with faucet
Faucet-Bought for old house and not used
Vanity hardware-left over from kitchen remodel
Vanity Glaze-supplies left over from kitchen remodel
Towels-used at old house
Accessories on shelf and toilet-from previous house
Sticks in vase-harvested from yard
White Paint-left over from other trim
Things that were not-so-free:
Light Fixture-$69.99 (Home Depot)
Mirror- $49.99 (Homegoods)
Paint- $35 (Sherwin Williams)
Beadboard/Cement/Thinset/Grout/other hardware- $200
Tile - $200 (closeout at tile and stone warehouse)
Silver Tray- $19.99 (Homegoods)
Silver Tray Accessories- $8 (Homegoods)
Shower Curtain- $26.99 (Target)
Towel Bar- $7.99 (Homegoods)
Brown Shelf-$6.99 (Homegoods)
Vase- $14.99 (Homegoods)
Orchid- $14.99 (Home Depot-yes it's real which is possible because of the skylight)
Grand Total: $654.92 Not bad for a complete bathroom overhaul including a sloping floor if I do say so myself. I hope our guests love it as much as we do!