
Wanna Paint Some Cabinets?
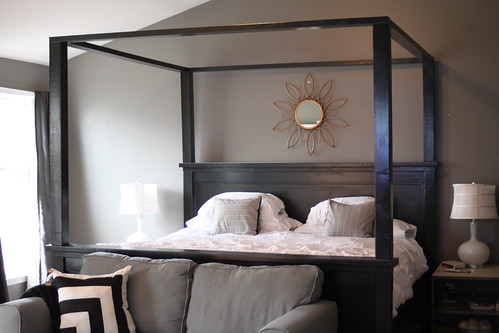
So did you happen to see our bed on the bragging board on Knock Off Wood?
Welcome to all the new readers/followers that found us. Yeah!
With all the new people joining us, I have been getting a lot of email and one one of the most frequent questions is “What’s your process for painting cabinets?”
I touched on it on my post about my love affair with Ace Cabinet and Trim paint. But I did not spell it out specifically for cabinets. Or windows. And I want to give you guys what you want.
So why have I not done a post like this before? Was it a secret?
Well, back before I was blogger I did not take pictures of every.single.step of a project. Crazy huh? I always thought that the next time I decided to paint a cabinet that I would make sure the camera was not far away. Because strangely that is the way that DIY bloggers have to roll.
But that has not happened because frankly I am starting to run out out of honey oak to paint. Which is a tragedy/celebration at the exact same time. So if you can forgive this post for the lack of pictures on every step, I hope you can learn a little something about how I did things.
Without further ado, the process for painting cabinets-
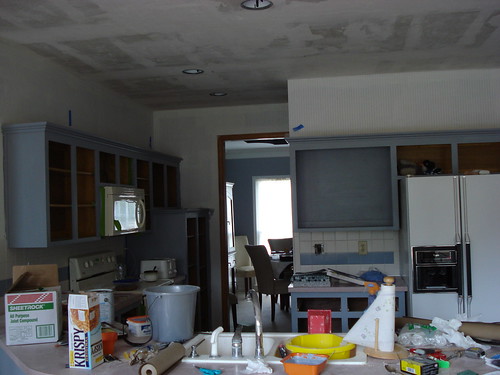
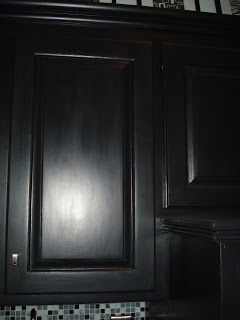
!. Start with gorgeous cabinets. Pretty pink counters and florescent light fixtures were an added bonus in our kitchen.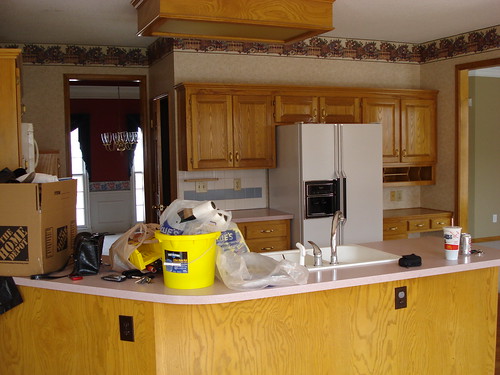 .
.
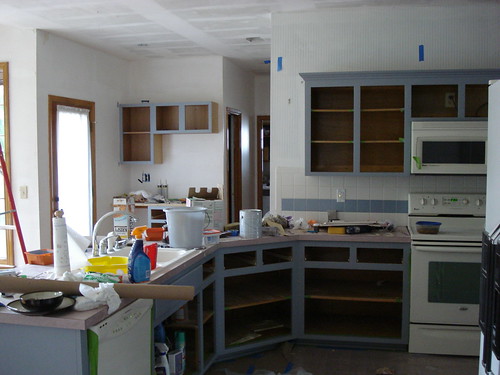
2. Take down all the doors and remove hardware. I would recommend numbering the doors with blue painter’s tape and draw yourself a diagram about which goes where. Unless you really like puzzles and think that a game at the end of the project would be fun.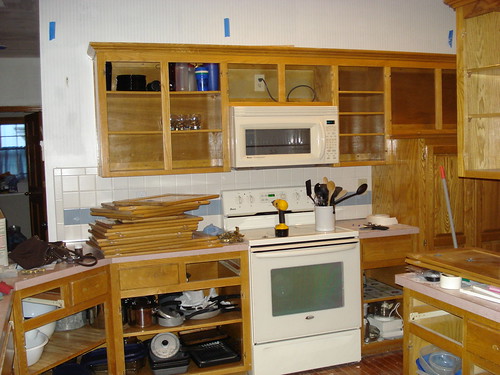
3. If you are replacing hinges or drilling for a different type, this is a good time to do that. We went from exposed brass hinges to concealed hinges. Was it a huge pain for a minor detail? Yes. But it was so worth it because I truly believe that this little detail helped make the kitchen. For the handy hinge how to go to this post.
4. Wipe down cabinets with TSP substitute (buy at a hardware store). I did this step outside on a tarp and let them dry on the drywall. I was amazed how much grease and grime came off with this step. Yuck.
5. If you are replacing you old hardware with new hardware that will be installed in a different location, fill the old holes with wood filler. If you are doing the new hinge thing, this is also the time to break out the wood filler. For large areas to fill on the hinge holes, I used wood epoxy (also can be found at your local hardware store). It had to be mixed and it was more difficult to use than wood filler, but it is sturdier and does not crack.
6. Empty your cabinets. Unless you want them covered in dust and paint.
7. Sand with an orbital sander with a medium grit sand paper. I would suggest wearing a mask and protective eyewear while doing this. Being outside for the door sanding is another bonus because it gets everywhere. I did a quick sand by hand on the parts that I could not get with the orbital. But if I am being honest, it was not the most through job (just a couple of swipes) and it turned out OK with the paint.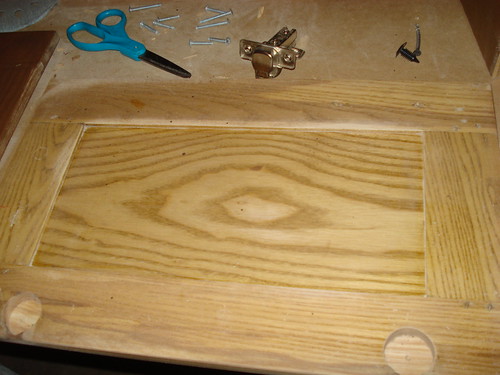
8. Wipe down everything with a tack cloth in order to get rid of the dust. Vacuum the floor and any other flat surface where dust collected. A smooth finish and dust are mortal enemies.
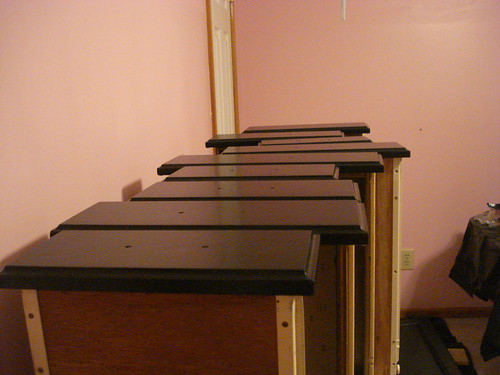
9. Set up you cabinet doors and drawers in the area you are planning on painting them. Make sure to tarp the floor. We were lucky enough to have two empty bedrooms and the cabinets took every square inch of them. To minimize the amount of contact the doors had with a surface while they were drying, I set up thin boards to keep them off the ground.
10. Prime with water-based Zinsser 1-2-3 primer. For the black cabinets I used a gray primer (tinted at hardware store as "dark as they could make it"). For the doors, flip and prime the other side. Except for the cabinets that will eventually have glass doors, I did not paint the inside of the cabinets. One because I am lazy and two I think it would be difficult to find anything in black cabinets.
11. Apply two coats of your paint. I used Ace Cabinet and Trim paint in Cannonball. (post here for paint application tips…check it out) For the doors this means paint, flip, paint, flip, paint, flip, paint, flip. Since the paint takes a least 24 hours to dry, this takes while. Read more about this here. I started with the back so that the final front side would never touch the wood support and possibly mess it up. To apply the paint, I used a high quality brush. Even on the larger surfaces, I did not use a roller because I wanted to minimize my brush marks as much as possible and with a brush I had figured out how to do that using the technique I linked to earlier. Could a roller have worked just as well? Possibly, but I cannot comment because I never trusted tried it.

12. After they dry, finish two coats of polyurethane in a satin finish. I skipped this step the first time I painted the cabinets. Frankly I was sick of painting and I thought they looked fine. And they did, but a year later they were not cleaning as easily as I would of liked them to. So I had to do half of this process over again (like I mentioned here). Not fun. Learn from my mistake and do the poly the first time. An added bonus to the ploy? This also seemed to also make the paint harden faster. I did not sand in between coats of poly, but make sure you apply it really really thinly or you it has the potential of it getting overly shiny.
13. Re-install with hardware and hinges. And enjoy your brand new cabinets!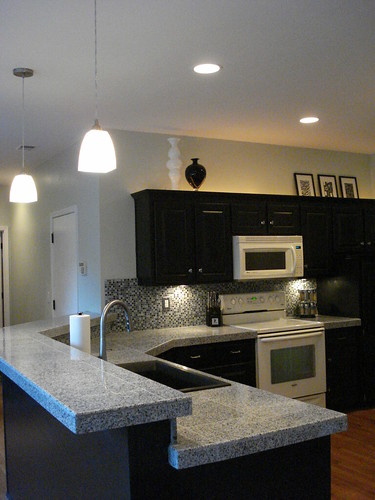
If painting is not your thing, check out my how-to on cabinet glazing. Another effective way to tame the honey oak beast! Happy painting!
