
Herbs on the Move
Know what my favorite thing about winter is? How much it makes me appreciate spring.
Because who can appreciate the absolutely gorgeous weather we have been having without going through the cold and incredibly long winter?
That is what I tell myself at least during the winter. Sometimes it actually works.
Since spring is in the air, gardening is on my mind. We are still in the iffy part of planting in good ole Zone 5 because we have been known to still have a random freeze this late. But being the rebel I am, I decided that I could start planting my pots last week. I know I am living on the wild side, but I figure that in the unlikely event we have a freeze, I can always pull them inside at night.
Since I am freeing up garden real estate this year, I decided all the the herbs were going to planted in pots on the deck. There are two added bonuses to this. First, most of them smell heavenly which brings a nice ambience to the deck space. Also, all the flowers I planted in pots last year did not do very well so hopefully the herbs will succeed much better. And flowers can start to add up in terms of $$$. So by replacing most of them with herbs I would be buying anyway, we are saving some money.
But then I stumbled onto a problem- pretty pots are expensive, especially when I plan on planting tons of herbs and some random flowers.
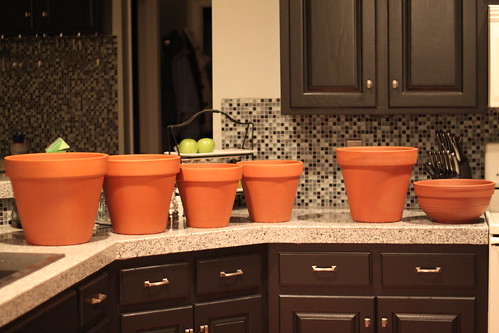
I did have a stack of old terra cotta ones in the garage and they are inexpensive for new ones as well…..but orange rust does not mesh with the color scheme of the outdoor decor I am going for.
So I turned to my favorite thing for sprucing something up…..I bet you can guess what that is…..
But terra cotta is not a material that you can just slap some paint onto and call it good. It took some prep work and specific materials. So of course I am sharing the how-to so that you can also score some cheap and springy pots.
The How -To
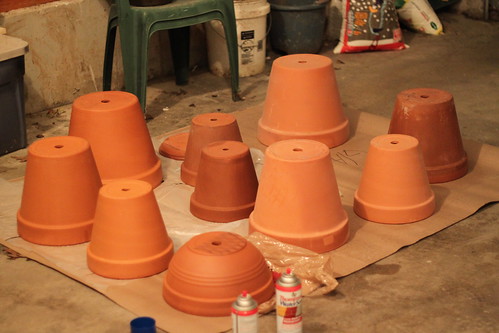
1. First, gather all your posts and scrub them with soap and water. I used a combination of new and old pots and definitely spent a lot more time scrubbing the mineral deposits and grime off of the old ones.
2. Let them dry for at least 24 hours. Learn from my mistakes and do not set them on a cement garage floor if there is any moisture at all in the ground. The terra cotta will suck it right up and they will never dry. Which is not fun to discover when you are ready to start painting them.
3. Spray with a water proofer. Terra Cotta is porous and when holding plants will suck all the moisture in from the dirt into the clay. Which is bad news for your paint if you are expecting it to stick. There are a lot of water proofers out there and some people suggest painting them with oil-based polyurethane to do the trick. But we had cans of Thompsons spray water sealer laying around from some past project that I now have no memory of. The terra cotta absorbed it right away and did not appear any different after spraying. Spray every surface with this stuff- both inside and outside. We went though a can and a half for all the pots pictured after applying one heavy coat.
4. Paint with Patio Paint in your desired color on both the outside and the inside. All terra cotta surfaces must be covered so that no water permeates any part and causes your paint to peel. This includes the inside of the water hole. I found my patio paint at a local craft store next to the terra cotta pots and not next to the acrylic paint which caused me a little bit of confusion.
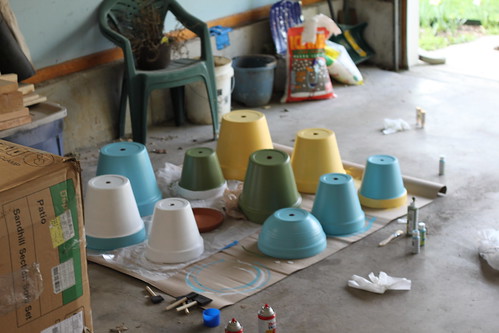
I covered everything with two coats of paint using a foam brush. The yellow and the white did not cover as well, so I added an extra coat. This paint dries really fast so the process did no ttake very long. I also used the green on the lower inside part of most of the pots because I knew you would not see it but it covered very well. And I had a big bottle of it.
5. Let dry for at least 48 hours per the paint’s instructions.
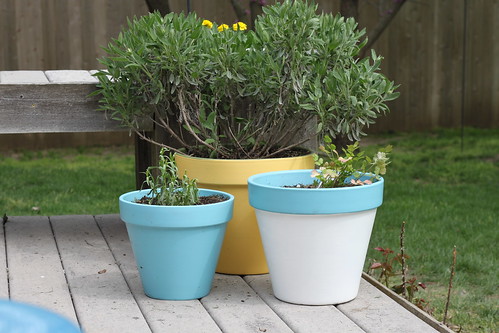
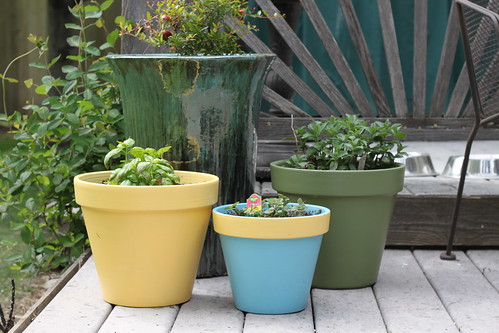
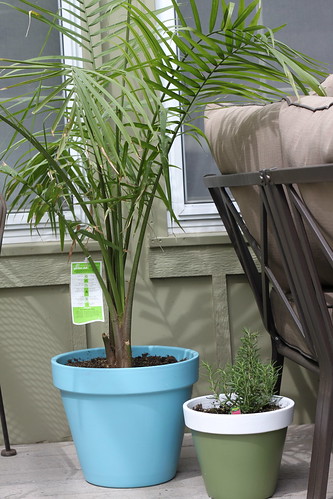
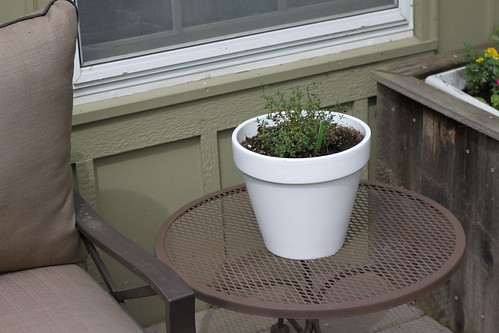
6. Fill with plants!
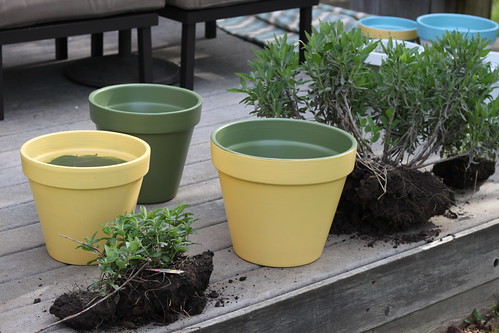
We put a coffee filter at the bottom the pots so that water could seep through but the dirt would stay put.
7. Color coordinate where you want particular herbs and enjoy!
Budget Breakdown:
$37 for pots (I already owned some)
$16 for paint
$0 for water sealer (already owned)
=$53 total…..which I think is great for 11 pots and some of them being large ones at that.
And I love what the color brings to the deck….I am so excited about how it is coming together. Now I just need to figure out what I can cook with that monstrous sage that came back with a vengeance this year…..
