
Burp Cloth Tutorial (Field-Tested)
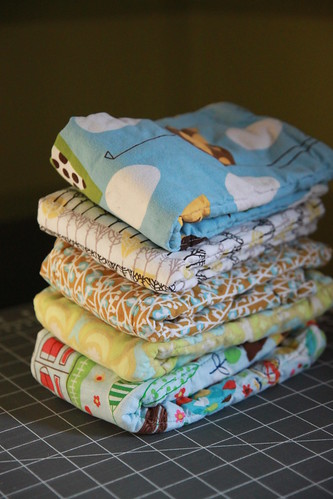
When I found out I was pregnant, one of the first things I did was start buying fabric for burp clothes. Easy and cute and I finally had an excuse to buy some kids fabric besides giving it away to other people. There are precisely 23894 tutorials on the blogosphere for how to make them and I did the whole sewing fabric on a diaper method (don’t worry, I go into greater detail in the actual tutorial).
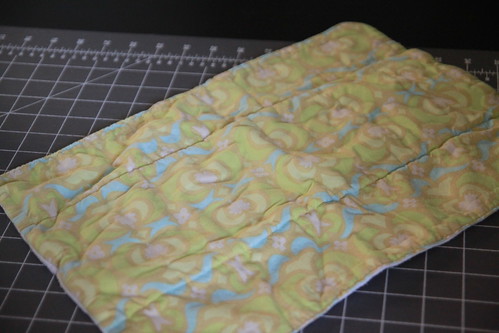
They did look prettier before they were washed a million times.
I made over 20 like this and thought I was golden. Because we were not going to have an urper anyway so they would just sit pretty in their box.
And then Carter made his arrival. And he had reflux. 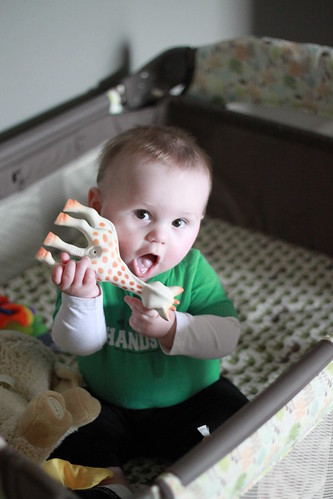
Which meant that burp clothes became a constant fashion accessory. And that you did not get nice clothes on for work until you were literally walking out the door in case he erupted.
You should be thanking me for not sharing a picture of him actually spitting up. Because we have them.
Anyway with all the urping going on, the diaper burp clothes I made were showing their weaknesses. Namely that they are too wide for shoulders and were constantly falling off. Leaving your shoulder in a vulnerable position. Not to mention your back.
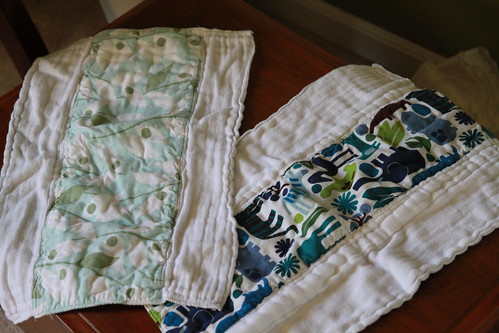
My friend Lauren made us some thinner ones which worked so much better (and matched his nursery too- bonus!).
So taking her thin design and adding some flannel for some extra “stickiness” I have now perfected the burp cloth. At least think so. Now if I just find the time make some more of them…
Ready for the How-To?
Materials:
Printed Cotton Fabric (approximately 9x18- a fat quarter works well)
Flannel Fabric (double the size of the printed fabric)
Scissors or Rotary Cutter
Sewing Machine
Iron
How To:
1. Cut your fabric larger than the size you are thinking of making your burp cloth and pre-wash it to get the shrinking thing out of the way.
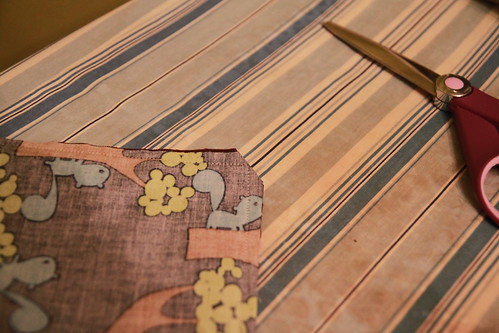
2. Cut your now shrunk printed fabric in a 9 in x 18 in rectangle. This size can be varied, I cut the three burp clothes I made at slightly different widths depending on how much fabric I had. This is not an exact science.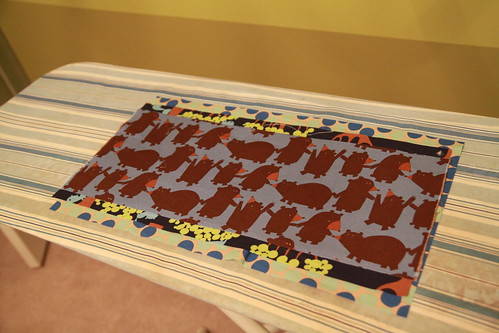
3. Cut two flannel squares the exact same size you cut the printed fabric.
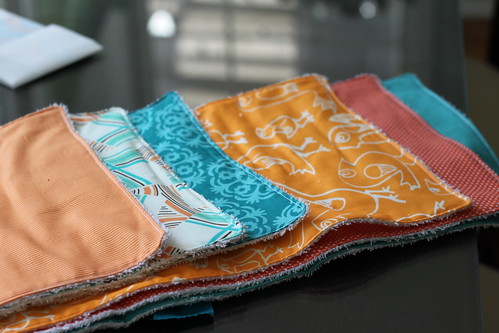
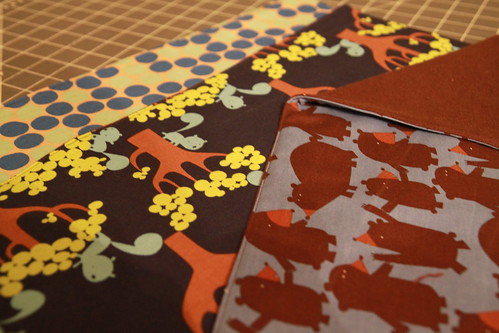
4. Line up your three squares right on top of each other with right sides together. (In the picture the three pieces are fanned out slightly so that you can see the order…when you sew make sure they are right on top of each other).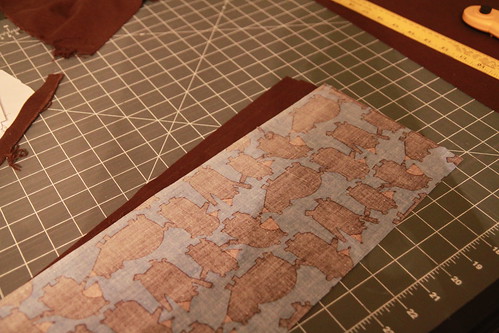
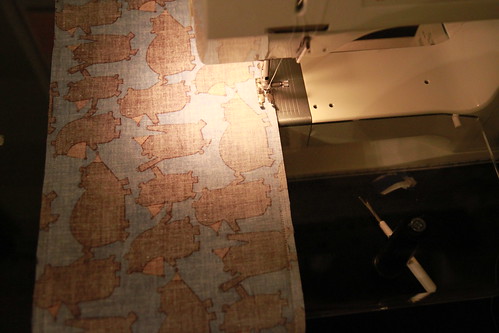
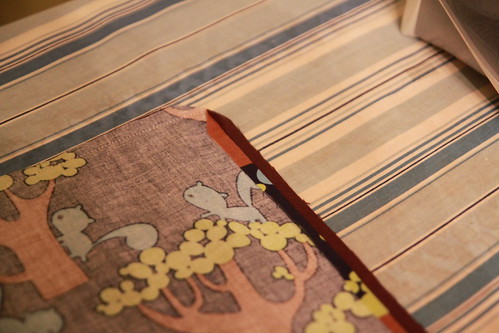
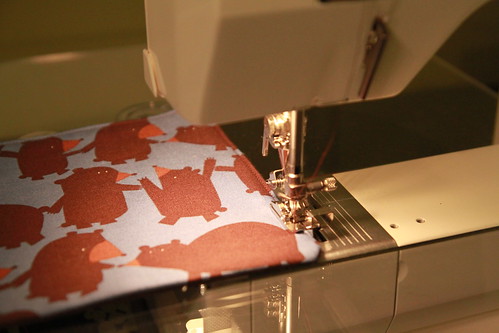
5. Sew around the 4 edges, and stop before you reach where you started, leaving a three inch opening to flip it out. I used a quarter inch seam.
6. Cut your corners of the sewn fabrics. Be careful not to cut the seam. Press open the seams.
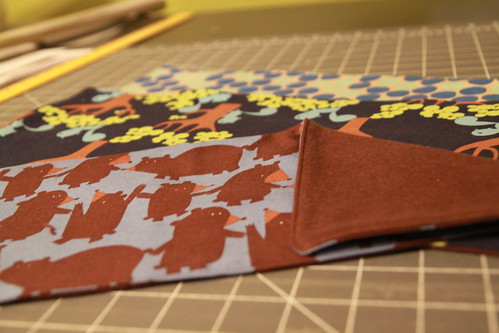
7. Stick your hand in the opening and pull it right side out. The second piece of flannel stays in the middle for extra urping absorbency. Make sure to spend some time poking out the corners.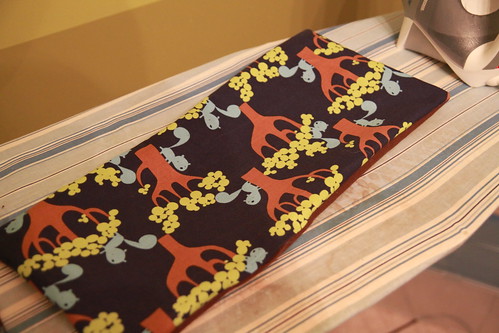
8. Press well so it lays flat. Make sure to press the flaps where the opening is in so that it matches the rest of the seams.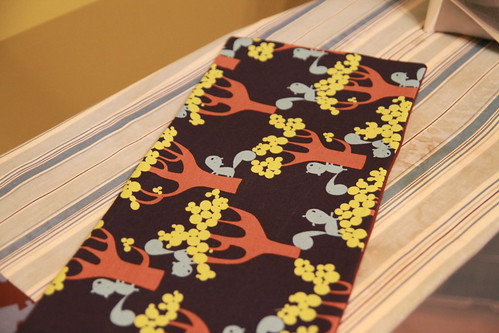
9. Edge stitch around the all 4 edges to finish it off and to complete the area with the opening.
10. And you are done! Super fast and easy.
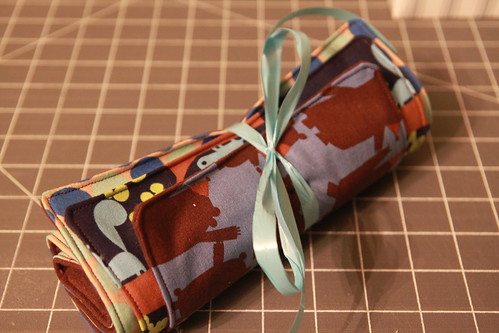
One side is cute, the other side is sticky and the extra piece of flannel will help absorb the urping. Not to mention it is skinny enough not to be sliding off your shoulder.
Tie it up with a bow and it also makes the perfect shower gift.
Happy Urping!