
Quilt Design Wall
Meet my old quilt design wall.
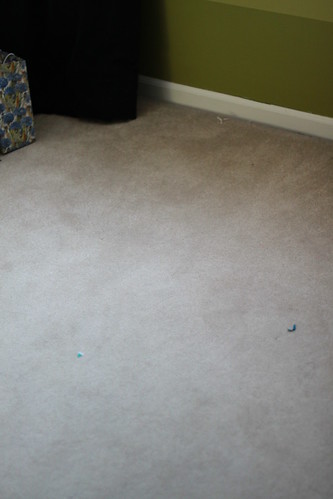
Difficult to visualize quilts on. Especially without a ladder. And prone to destruction by toddlers, dogs and the vacuum.
I am lucky to have a devoted space to my crafting and even luckier to have a huge free wall.

Perfect.
Derek was not well versed in quilt design walls for some odd reason. I explained the basic premise of wrapping batting over something light so that cotton fabric would stick to it. And it should be large as we had about a 7 foot square to work with. And since it was going to be permanent, I wanted something that looked nice. And not temporary. Almost like a framed piece of art.
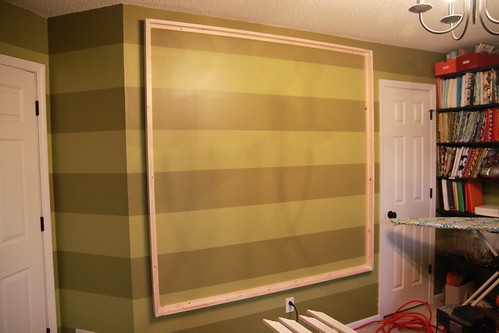
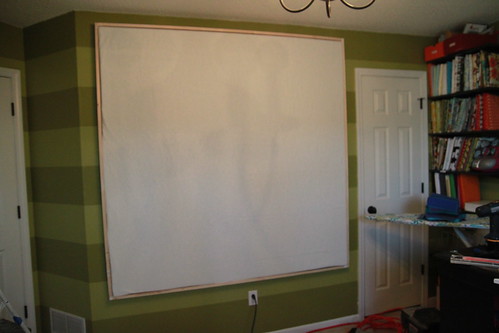
This is what he came up with-
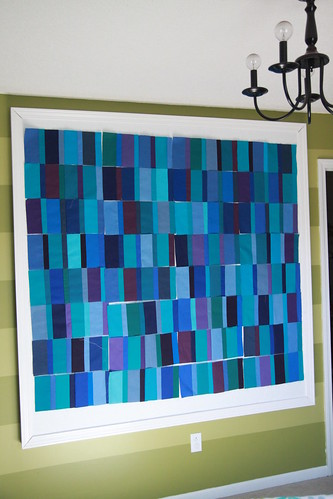
Well the wall, not the quilt. That was me. But you get the idea.
So how did we do it? Here is the how-to if you want your own. This makes one approximately 6ft x 6ft design wall.
Materials:
13 6-foot 1x2 boards
4 6 1/4 foot pieces of molding for the facing
Paint
Duct tape
Foam backing for vinyl siding equal to the interior of the frame size.
Finish nails and about 16 3-inch wood screws (A finish nail gun is your best friend on this project)
A couple of straight pins
An exacto knife.
7’ by 7’ sheet of batting
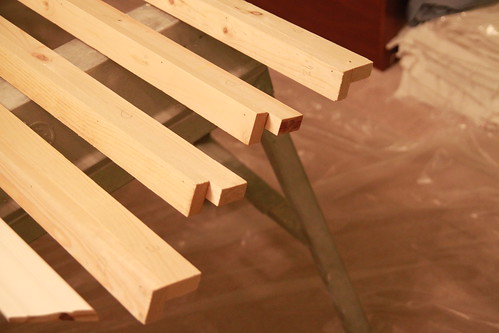
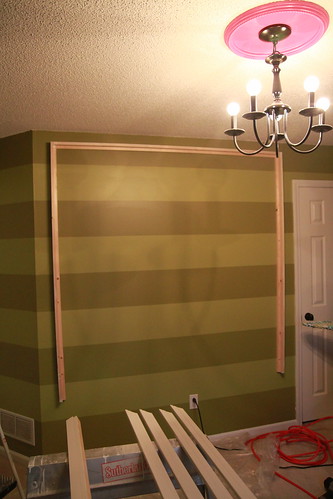
1. Make an L-shaped frame out of 1x2. Use 8 1x2s to make 4 “L’s”. We used a nail gun and finishing nails.
2. Screw your four L’s into studs on the wall in a frame shape. By making the L shaped frame out of 1x2 it provides a 3/4” interior lip to screw into the wall and creates a 2 1/4” inch frame that is perpendicular to the wall.
3. Cut up a 1x2 into 2 pieces that measure about 1 foot a piece. This does not need to be exact. Install these two pieces horizontally into the studs in the middle of the frame. These will serve as supports for the vertical pieces. 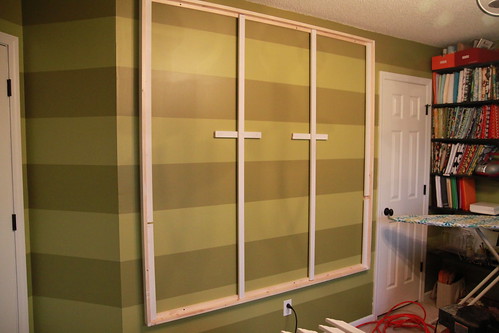
4. Nail 4 1x2s as vertical supports-on the two sides onto the frame and two in the middle, crossing over the horizontal pieces in the middle.


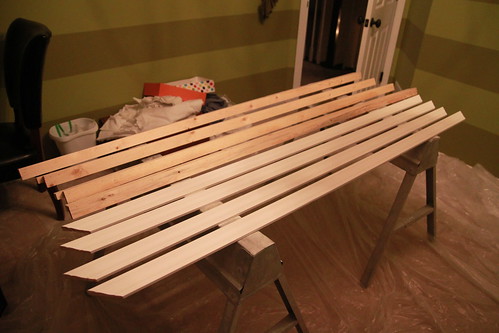
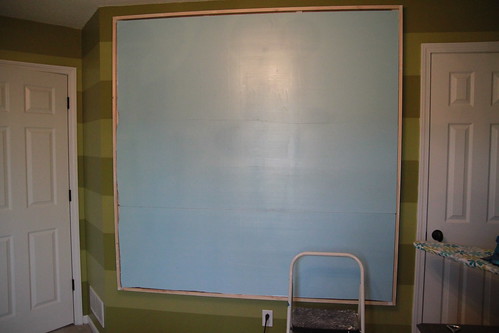
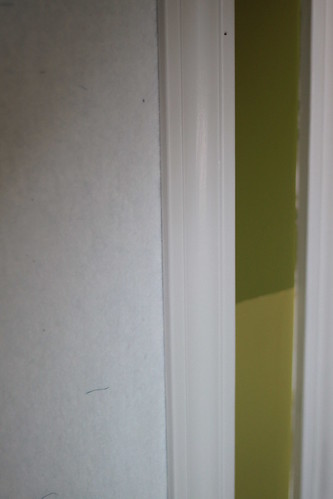
5. Paint the exposed edges and the molding. I painted before we started anything and tried to be strategic about only painting what was going to show. However, as you can see by the painted 1x2s above I over painted.
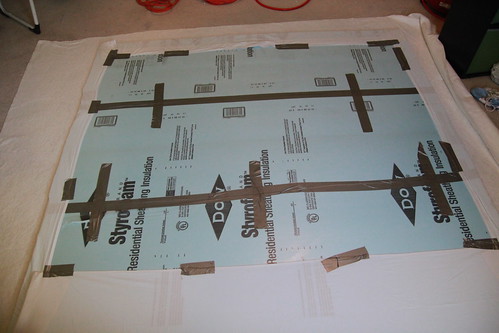
6. Measure and cut your foam (the kind they use behind vinyl siding) to your inner frame size. Make sure it fits with a little bit of space on the edges (about a half inch). He had to duct tape two pieces together to get one this size.
7. Wrap that sucker with batting. We secured it with duct tape on the back and stuck a couple straight pins in the front close the the corners. Pins/staples/anything sharp would be a bad idea on the back because of the potential poke factor on the front.
8. Stick it back up there inside the frame.
8. Cut molding to fit the frame and nail it to the edges of the wood around the frame. The batting layer is now enclosed and won’t move.
9. Caulk your nail holes and your mitered edges. Honestly we still have not done this step. It is functional without it but prettier with it.
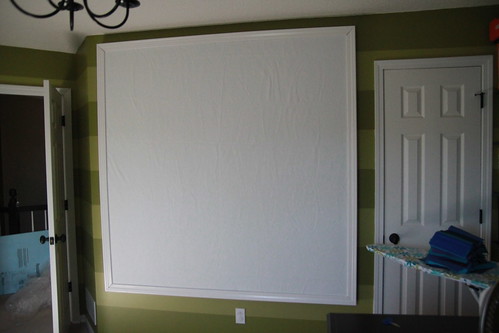
And you are ready to go.
I have been using my design wall for awhile and it has been invaluable. The cotton fabric just sticks right to the batting. It is like temporary art.
Right now it is sporting some triangles.
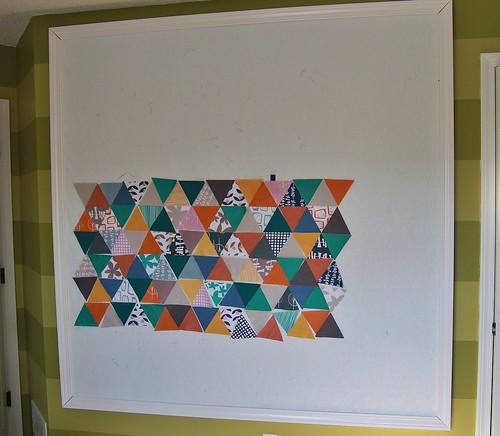
I received a couple of charm packs of Lotta Jansdotter’s upcoming line- Glimma and after adding some solids (all from my stash) the design wall was put to great use. Making sure the triangles were not forming any funky shapes. And that the colors played nicely together. Because random takes a lot of planning. That is what a design wall is for.
And providing great fabric to look at while I sew. 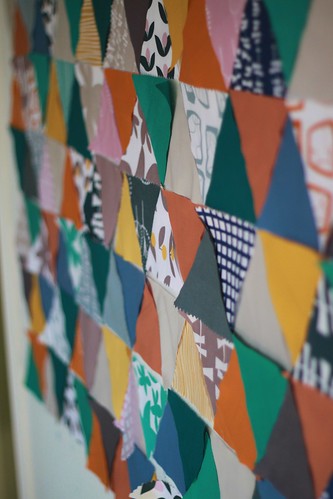
Hmmm….maybe I need two design walls.