
Handmade Holidays
When I first joined up with The NewlyWoods Blog Party I thought that this week of Dare To....Give Homemade Gifts would be motivation to finish all the handmade gifts I was planning for the holidays.

You know a little motivation not to procrastinate. My goal this year was to give almost everyone something handmade even if it was small. However, even though I have been spending huge amounts of time in the craft room there are still some works in progress.
I could not pick a favorite one to post ....so stay tuned for a picture heavy post.
I am so also hoping that by posting lots of the things that family and friends that read the blog will not put together what they could be possibly getting. I am not aware of the recipients of any of the following gifts are readers. But just in case.....if you normally receive a gift from us-stop reading now.
Let's start with things that are completed.....the scarf parade. (Do you know how difficult it is to get a decent picture of a scarf.....especially since every picture with me in it made me cringe)
These are the two I "knitted"-
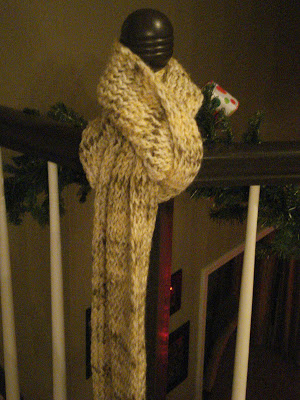
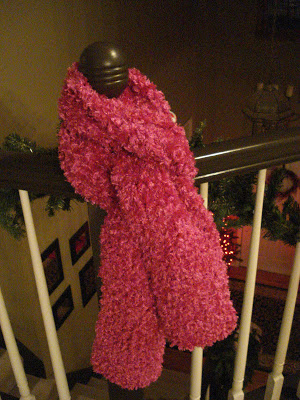
The pink one used furry thread that I picked up this summer on clearance at Hobby Lobby. Since I was not successful with teaching myself to knit using needles like a normal person, I use a loom like this-
It is so easy and there are so many variations that I want to try now that I have the basics mastered. You can pick up the loom at any craft store.
Onto to the parade of ruffle scarves. I love ruffles and I am seeing them everywhere in stores right now so of course I began to scour the internet for how to make them.
Currently there are three scarves completed with slight variations and in the coming days I have ideas for more variations. One thing they all have in common- they are all knit fabric (because you can cut the fabric and not worry about it fraying). They also are were super-cheap to make.
Ruffle Scarf #1-
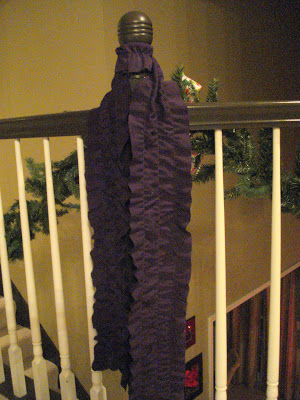 This was by far the most time efficient and easiest (20 minutes from start to finish) of the bunch. I ruffled this one using elastic thread like detailed at Hope Studios.
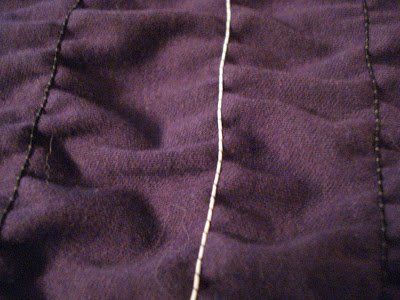
Mine is not ruffled as much as theirs because of the type of bobbin my machine has self-corrects the tension. I messed with tension controls for a long time before figuring out that this was the best I was going to get.
 Check out the tutorial over there because the ruffles are as easy as sewing a straight line.
Here is what the back side looks like with the elastic thread (I wanted to have all black obviously but I ran out since I used most of the spool experimenting....the future ones will have all black thread.)
Here is a blurry pic of me modeling the look (I swear it's difficult to hold a camera with one hand)
 Ruffled Scarf #2-

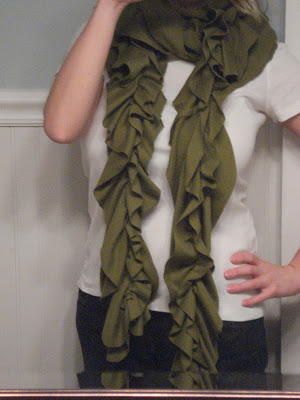
 This one took a little longer than the first but I love the more dramatic ruffles.....stay tuned for a tutorial because it was easy (and no I do not have ruffler foot for my sewing machine...I wish)
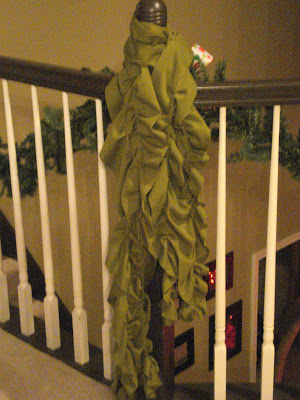
Ruffle Scarf #3-
 While it looks similar to #2, it is very different. It is actually two ruffles sewn together which makes it very full, but it is not cut as wide. I made this one based on a pattern on Burda Style here.
Switching gears from scarves to a baby item- burp clothes-
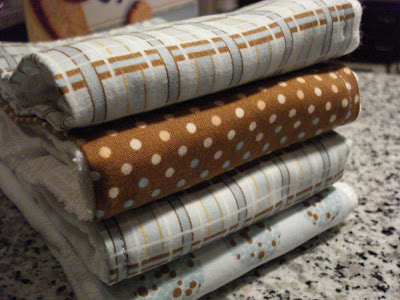
 Basically they are a cloth diaper edged with a piece of pretty fabric. They are simple to make but I love how they turned out. The only tricky part is making sure your seams are straight on the front and the back side.
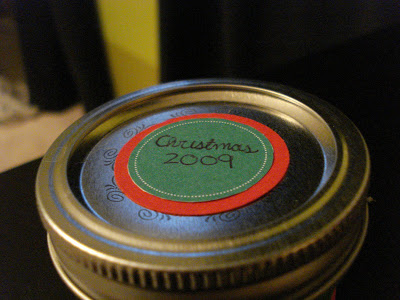
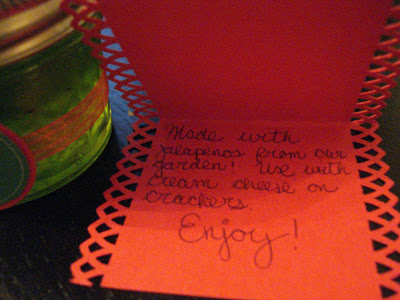
OK let's take a break from sewing to move onto food gifts. This summer we had tons of jalapenos from our garden that no amount of Mexican nights was going to use. So I made Jalapeno Jelly (like described here). Since they are such a Christmasey color and we have tons of it we thought they would make an awesome gift.
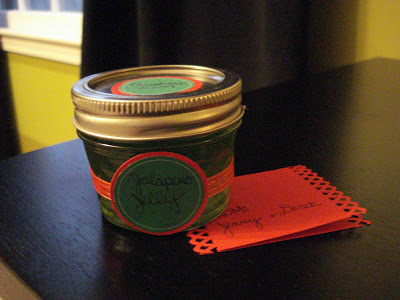
I am not a huge paper crafter but I downloaded these tags from Martha (here). They are supposed to be for candles but they do dual duty. Then I used my lone circle punch and some red cardstock for the second circle. A little ribbon, hot glue and a gift card and these boys are ready to be enjoyed.

Okay now for the works in progress- the quilts.
I am not a quilter and have never 100% completed one. But I love reading blogs about modern quilting for inspiration and think I can do some simple ones.....eventually that it is. The first thing I learned about quilting is that it takes a very long time. I also learned that your cutting and sewing have to be exact otherwise you will have wonky lines. Let's just say the seam ripper and I have become fast friends as I am trying this for the first time.
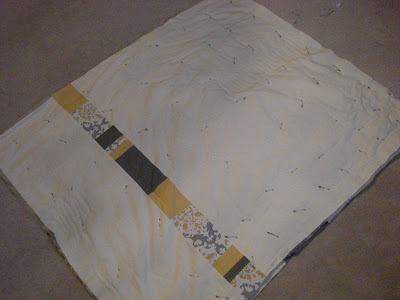
So here is the first work in progress....a baby quilt that the colors were inspired by a fabric remnant for a couple of bucks and the design was inspired by subway tile. The quilt does not scream "baby" but this style totally fits with mom's and I hope they love it.
 This quilt is basted and is just waiting for me to finish quilting it and then bind it.
The front-
 The back-
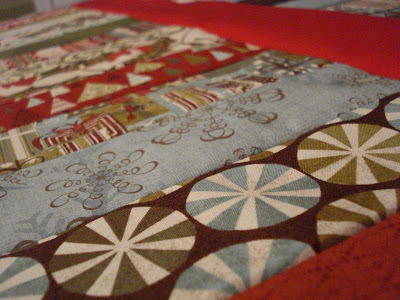
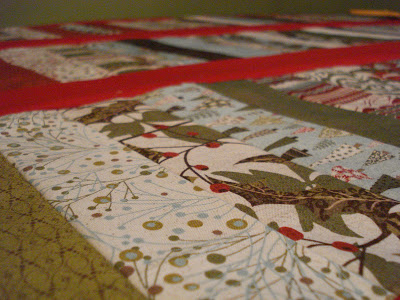
 Now for Christmas quilt #1-
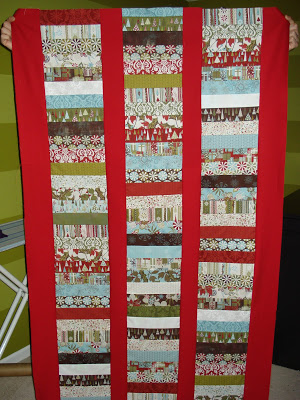 Yeah the top is complete and that is about it. But I love how it turned out and I love all the fabric in it-
 What about Christmas quilt #2? Well I would show you pics but right now it is just cut fabric (same as Christmas quilt #1) not sewn together.
I told you I have a lot of work to do. Maybe I need to stop blogging and start sewing.
I am also linking up with-


You know a little motivation not to procrastinate. My goal this year was to give almost everyone something handmade even if it was small. However, even though I have been spending huge amounts of time in the craft room there are still some works in progress.
I could not pick a favorite one to post ....so stay tuned for a picture heavy post.
I am so also hoping that by posting lots of the things that family and friends that read the blog will not put together what they could be possibly getting. I am not aware of the recipients of any of the following gifts are readers. But just in case.....if you normally receive a gift from us-stop reading now.
Let's start with things that are completed.....the scarf parade. (Do you know how difficult it is to get a decent picture of a scarf.....especially since every picture with me in it made me cringe)
These are the two I "knitted"-
The pink one used furry thread that I picked up this summer on clearance at Hobby Lobby. Since I was not successful with teaching myself to knit using needles like a normal person, I use a loom like this-
It is so easy and there are so many variations that I want to try now that I have the basics mastered. You can pick up the loom at any craft store.

Onto to the parade of ruffle scarves. I love ruffles and I am seeing them everywhere in stores right now so of course I began to scour the internet for how to make them.
Currently there are three scarves completed with slight variations and in the coming days I have ideas for more variations. One thing they all have in common- they are all knit fabric (because you can cut the fabric and not worry about it fraying). They also are were super-cheap to make.
Ruffle Scarf #1-
This was by far the most time efficient and easiest (20 minutes from start to finish) of the bunch. I ruffled this one using elastic thread like detailed at Hope Studios.Mine is not ruffled as much as theirs because of the type of bobbin my machine has self-corrects the tension. I messed with tension controls for a long time before figuring out that this was the best I was going to get.
Check out the tutorial over there because the ruffles are as easy as sewing a straight line.Here is what the back side looks like with the elastic thread (I wanted to have all black obviously but I ran out since I used most of the spool experimenting....the future ones will have all black thread.)
Here is a blurry pic of me modeling the look (I swear it's difficult to hold a camera with one hand)
Ruffled Scarf #2-This one took a little longer than the first but I love the more dramatic ruffles.....stay tuned for a tutorial because it was easy (and no I do not have ruffler foot for my sewing machine...I wish)Ruffle Scarf #3-
While it looks similar to #2, it is very different. It is actually two ruffles sewn together which makes it very full, but it is not cut as wide. I made this one based on a pattern on Burda Style here.Switching gears from scarves to a baby item- burp clothes-
Basically they are a cloth diaper edged with a piece of pretty fabric. They are simple to make but I love how they turned out. The only tricky part is making sure your seams are straight on the front and the back side.OK let's take a break from sewing to move onto food gifts. This summer we had tons of jalapenos from our garden that no amount of Mexican nights was going to use. So I made Jalapeno Jelly (like described here). Since they are such a Christmasey color and we have tons of it we thought they would make an awesome gift.
I am not a huge paper crafter but I downloaded these tags from Martha (here). They are supposed to be for candles but they do dual duty. Then I used my lone circle punch and some red cardstock for the second circle. A little ribbon, hot glue and a gift card and these boys are ready to be enjoyed.
Okay now for the works in progress- the quilts.
I am not a quilter and have never 100% completed one. But I love reading blogs about modern quilting for inspiration and think I can do some simple ones.....eventually that it is. The first thing I learned about quilting is that it takes a very long time. I also learned that your cutting and sewing have to be exact otherwise you will have wonky lines. Let's just say the seam ripper and I have become fast friends as I am trying this for the first time.
So here is the first work in progress....a baby quilt that the colors were inspired by a fabric remnant for a couple of bucks and the design was inspired by subway tile. The quilt does not scream "baby" but this style totally fits with mom's and I hope they love it.
This quilt is basted and is just waiting for me to finish quilting it and then bind it.The front-
The back-Now for Christmas quilt #1-Yeah the top is complete and that is about it. But I love how it turned out and I love all the fabric in it-What about Christmas quilt #2? Well I would show you pics but right now it is just cut fabric (same as Christmas quilt #1) not sewn together.I told you I have a lot of work to do. Maybe I need to stop blogging and start sewing.
I am also linking up with-
