Baby Bookshelves
The nursery is entering the home stretch…which is good because the baby is due in about 4 weeks. But could come at any time…but probably won’t…but could. Which is really messing with my whole “I want to plan and write things on a calendar” personality.
Anyway there is a whole lot of DIYing to go in the space (while the sewing machine is whirring in the background.)
I knew I wanted lots of books in the nursery because you know the whole reading to your child is a good thing. Not to mention they could be used as a decor item as evidenced in this inspiration picture. But of course cognitive and language development trumps decor….unless you can have both of course.
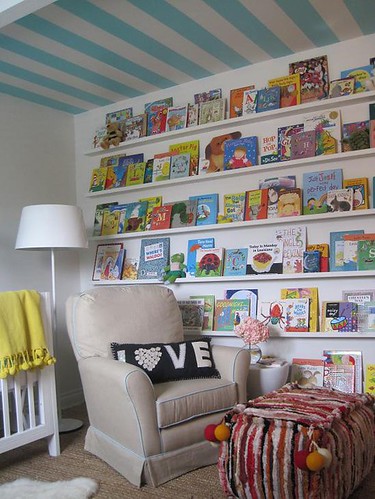
I love that entire nursery but those floor to ceiling shelves made me swoon.
Unfortunately, I knew we were not going to have the space to replicate that, but loved the forward facing idea. And those skinny shelves would be super easy to DIY.
Rumor has it that IKEA has similar shelves that would not require you to make them yourselves. I would not know as I have lamented mentioned before, the nearest one is 8 hours away…and not worth driving for some shelves.
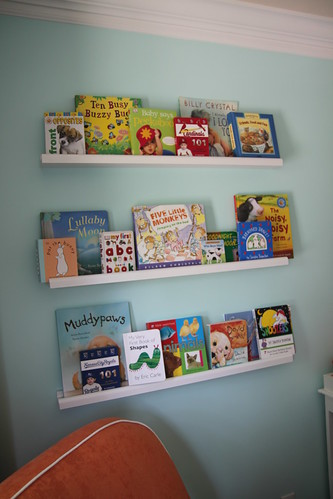
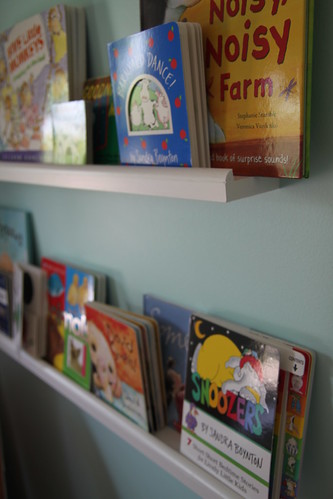
Here is what we came up with-
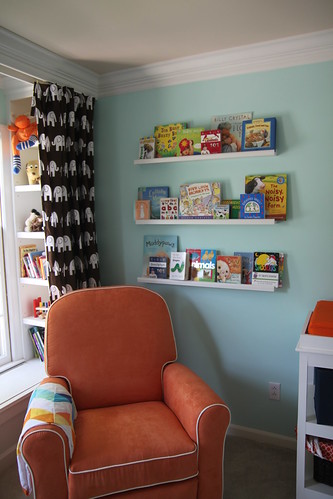
My participation in the project? Showing Derek the picture, telling him where I wanted them and placing books. I even let go of control enough to let him try to my favorite self-leveling paint on his own (after a quick tutorial of course). Here is what he did:
1. Cut a 1x2, 1x3 and piece of quarter round each to 36”.
2. Put it together. The vertical 1x2 in attached to the horizontal 1x3. The vertical 1x2 is nailed or screwed into the ¾” side of the 1x3. This should leave ¾” of vertical 1x2 exposed above the 1x3. The
exposed ¾” of the 1x2 will be used to screw the bookshelf to the wall. The quarter round is attached to the top edge of the 1x3 to create an edge for the books to lean against. Use finishing nails.
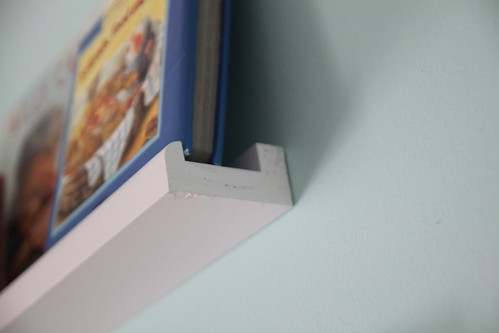
3. To attach to the wall screw through the exposed ¾” of the 1x2 into studs in the wall. By making the shelf 36” long you should have at least 2 studs to screw into.
4. Prime and paint.
Super easy ( I am told) and super cheap. And I love the fact that we screwed the wood directly into the studs so that junior will be OK if he decides to use them as rock climbing wall at a later time. Plus the fact that we can rotate books and hopefully since you can see all the covers, even more reading will happen. At least that is what I am hoping…